
Curated.co is a publication platform that allows you to collect resources before using them in the next newsletter. Pabbly Connect is a powerful Zapier-like automation tool, which allows you to move data between different platforms. This post will show you how to use Pabbly to automatically collect new remote jobs to your Curated.co collection. We will use the new Remote Weekly API to achieve this.
If your newsletter consists solely of remote jobs, or you cover the whole niche and use job offers only as a cherry on top. This guide will show you how to add a valuable piece of content to your publication.
Step 1 – Get API access
First things first. You need a data source.
There are a couple of remote job boards providing access to their database. Unfortunately, “their” is a crucial keyword here. Connecting one API will usually always get you jobs from just one source.
To cover the majority of available remote gigs, you want to fetch data from multiple resources. These can be remote job boards, career pages, tweets, subreddits, or even Facebook groups.
Sounds like a pain in the ass, doesn’t it?
Luckily, there is a handy solution. Remote Weekly is a remote jobs delivery platform, which, coincidentally, offers API access. Remote Weekly’s data are aggregated from dozens of different resources. This means that connecting this single API will get you remote jobs from all over the internet.
To access the Remote Weekly API, you will need an access token. An access token is your unique, private identification string. To obtain it, all you need to do is sign-up for a free 7-day trial with the “Get API access” button below.
Simply sign-up, and they will email the token to your email Inbox.
Step 2 – Create a new publication
This button will take you to the Curated.co sign up form. Please follow their sign up instructions.
You will get an email prompting you to validate your address and fully activate your account.
Getting the API key
To allow Pabbly access your Curated.co content, you will need another API key. (I know, right?)
Go to my.curated.co ➞ Settings ➞ Api Key and save the key in the second box into a text file on your computer. Alternatively, leave the browser tab open for a while. By “second box”, I mean the “Key for Zapier” box. Pabbly and Zapier use the same key.
Step 3 – Create a new workflow
Use this button to create a new Pabbly account. Please follow their instructions.
Now, let the fun begin. What you want to do is visit the Pabbly Connect dashboard and create a new workflow. The button is located in the top-right corner.

Chose a name for your workflow. I’ll go with Remote Weekly API to Curated.co.
Okay. This should take us to the workflow builder. We will need to add 4 actions to the workflow.
1. Schedule
Let’s set the interval to 30 minutes. This means that every 30 minutes, Pabbly will check for new remote jobs – and if it finds any, will add them to your Curated.co collection.
Options
Run scenario ➞ At regular intervals
Unit ➞ Hours
Value ➞ 24

2. API
Fill out all the fields according to this screenshot. For the position parameter, see list of supported positions. For this instance, we will go with copywriting jobs. Make sure you Save & Send Test Request after you finish with this step.
Action event ➞ GET
Endpoint URL ➞ https://v1.remoteweekly.ai/api/jobs/
Authentication ➞ Bearer Token
Token ➞ Your token from Step 1
[X] Set Parameters
position ➞ position from the list OR leave blank
page ➞ 1
maxAge ➞ 86400 (the number of seconds equal to 24h we set in the "Schedule" section)

3. Iterator
It may take a while to see the possible values in the Choose Array select box. If it’s empty, use the Test button from step 2 a few times. That should populate the select box. Then, select the 2. items.

4. Curated
Remember how you saved a text file with the token to access your Curated.co collection? Well, now is your time to shine.
Set New Collected Link as a value of Trigger Event field. Then, click the Connect With Curated button.
A window will pop up – insert your token from Step 2. Include the Token token= prefix as well.


After you save the token, many more fields will suddenly pop up.
All these values should come from the Iterator section of the list of possible values.Publication* ➞ Your publication name
URL ➞ 3.Links > original > detail
Title ➞ 3.title + at + 3.companyNamy (combine two variables with the text " at " between them)
Description ➞ 3.lead

Tip
URL, Title, and Description fields are a bit tricky. In the dropdown menu, you need to choose a value from the Iterator section. You can combine multiple fields – as we did for the Title – {name} at {companyName}.


When finish, click the Save & Send Test Request button. You should already see some results in your Curated.co library.
The whole workflow will look like this 👇

Don’t forget to activate your workflow.

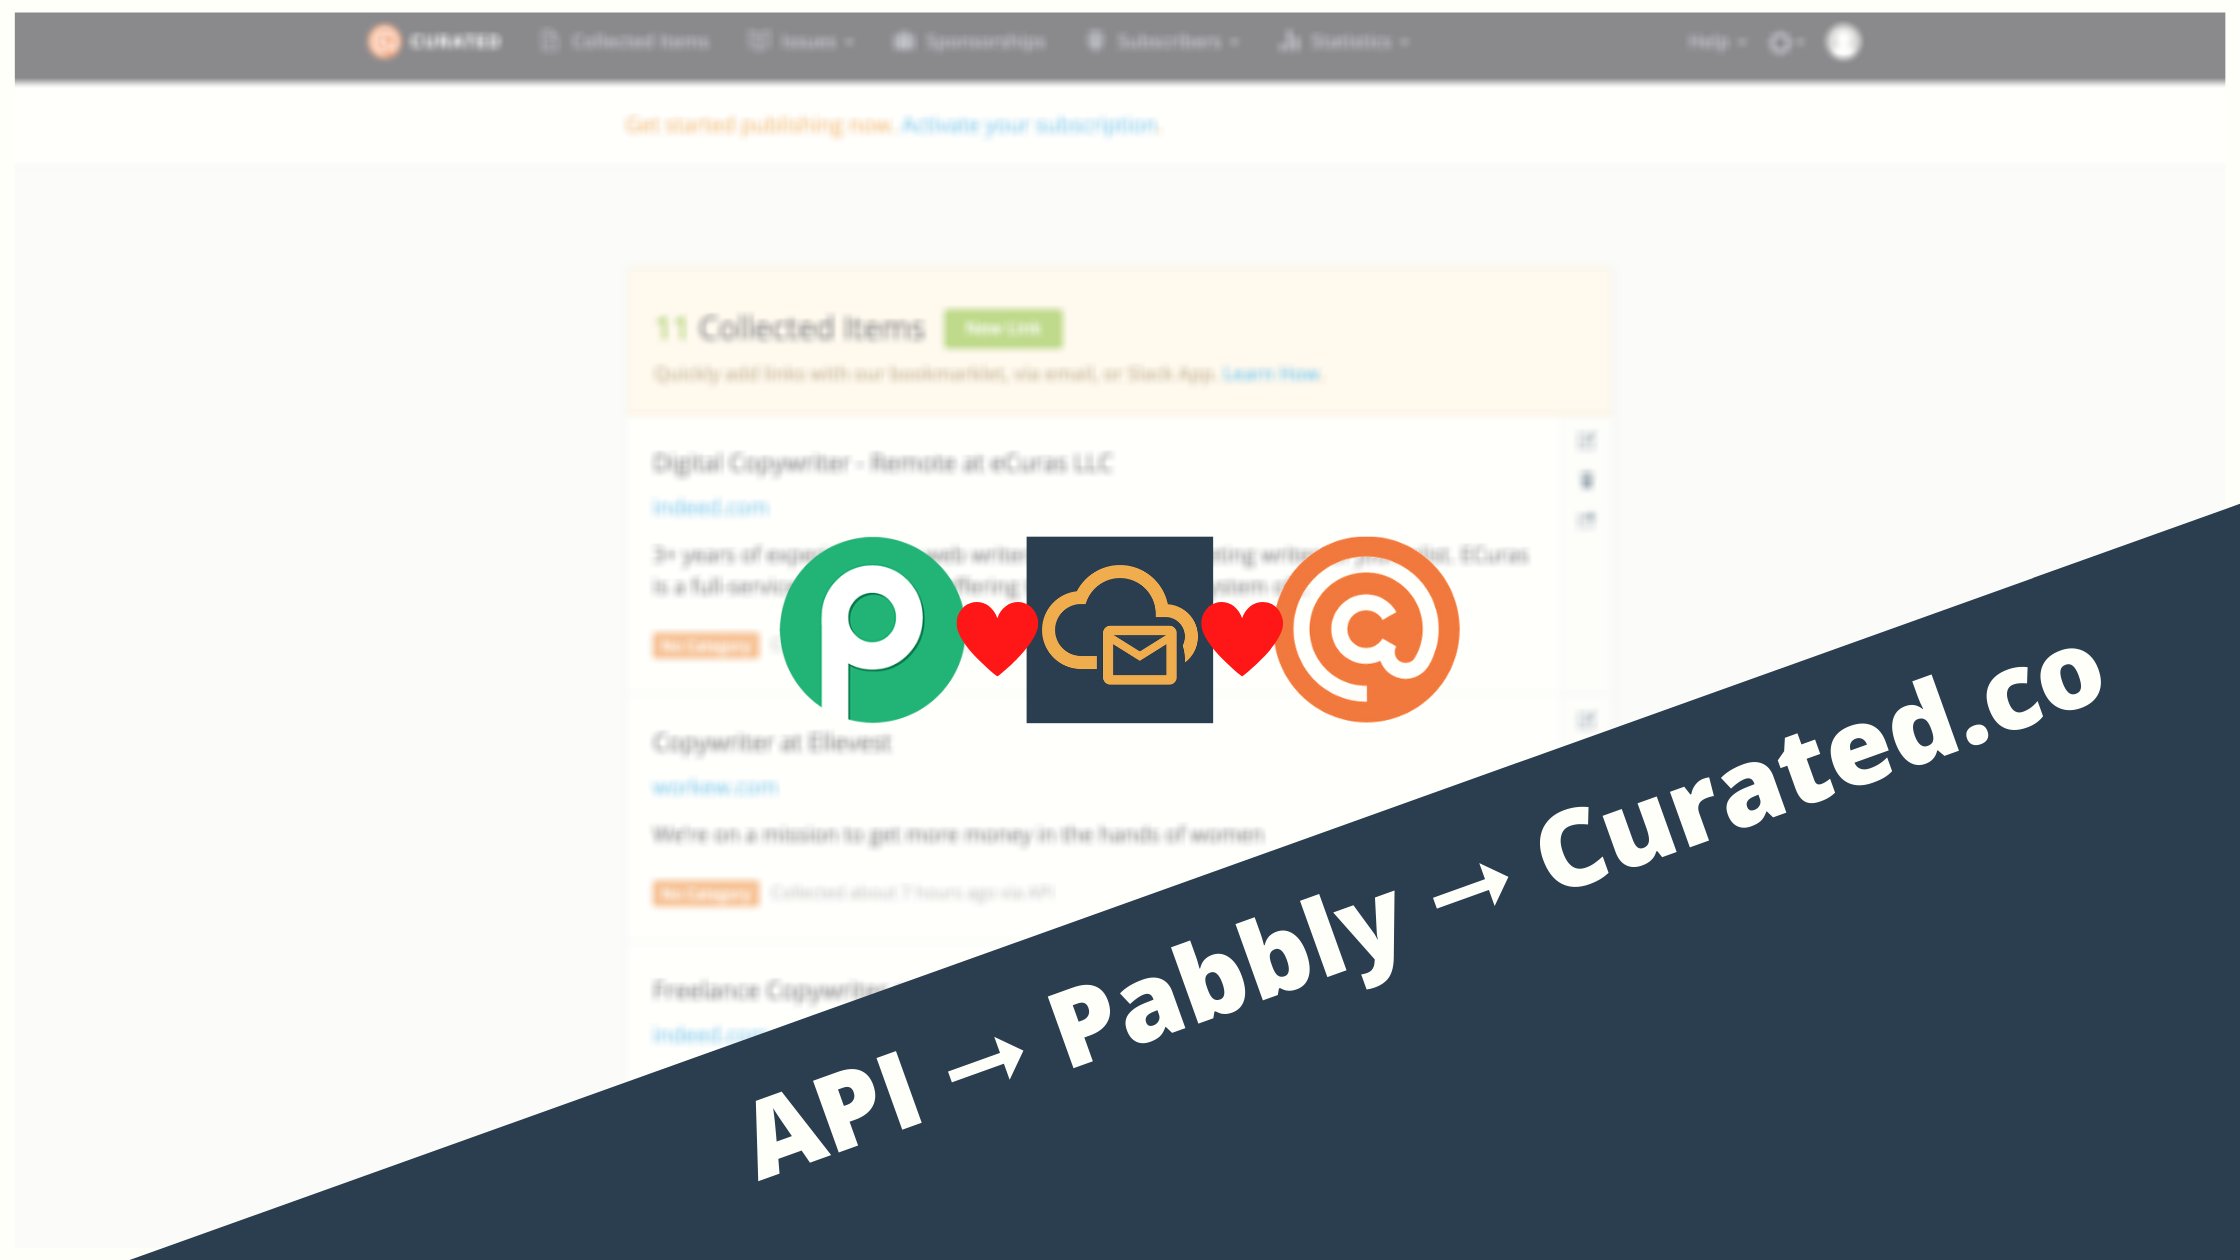
And now, the moment of truth
If you followed our instructions (and stumbled upon a bit of luck on the way), there is a good chance that after you open your Curated.co collection, you will see something like this 👇

🎉🎉🎉 🥳 🥳 🥳 🎉🎉🎉
Congratulations! You just saved yourself hours of work each month. This setup will now automatically collect remote jobs for you.
Important note
If you gonna fiddle with the interval on how often the workflow should collect new jobs, you have to change both 1. Schedule timing and 2. API parameter maxAge. Otherwise, you will run into duplicity issues.
Do you have a specific use-case for our Remote Jobs API? Let me know, so we can write an article about it!
Leave a Reply