

Calling all content curators, job-hunting power users, and newsletter authors. You can stop cherry-picking remote job offers spread over dozens of job boards, Facebook groups, subreddits, and companies’ career pages. In this article, we will show you how to scrape remote jobs from 20+ job boards using Zapier and Google Sheets.
There are a couple of remote job boards providing access to their database. Unfortunately, “their” is a crucial keyword here. Connecting one API will typically get you offers from one source only. Today, we will show you how you can automatically scrape remote jobs into Google Sheets from multiple sources. Without coding. Almost.
Let’s get to work.
1. Get API access
First things first. You need a data source.
To access the Remote Weekly API, you will need an access token. An access token is your unique, private identification string. To obtain it, all you need to do is sign-up for a free 7-day trial with the “Get API access” button below.
Simply sign-up, and they will email the token to your Inbox.
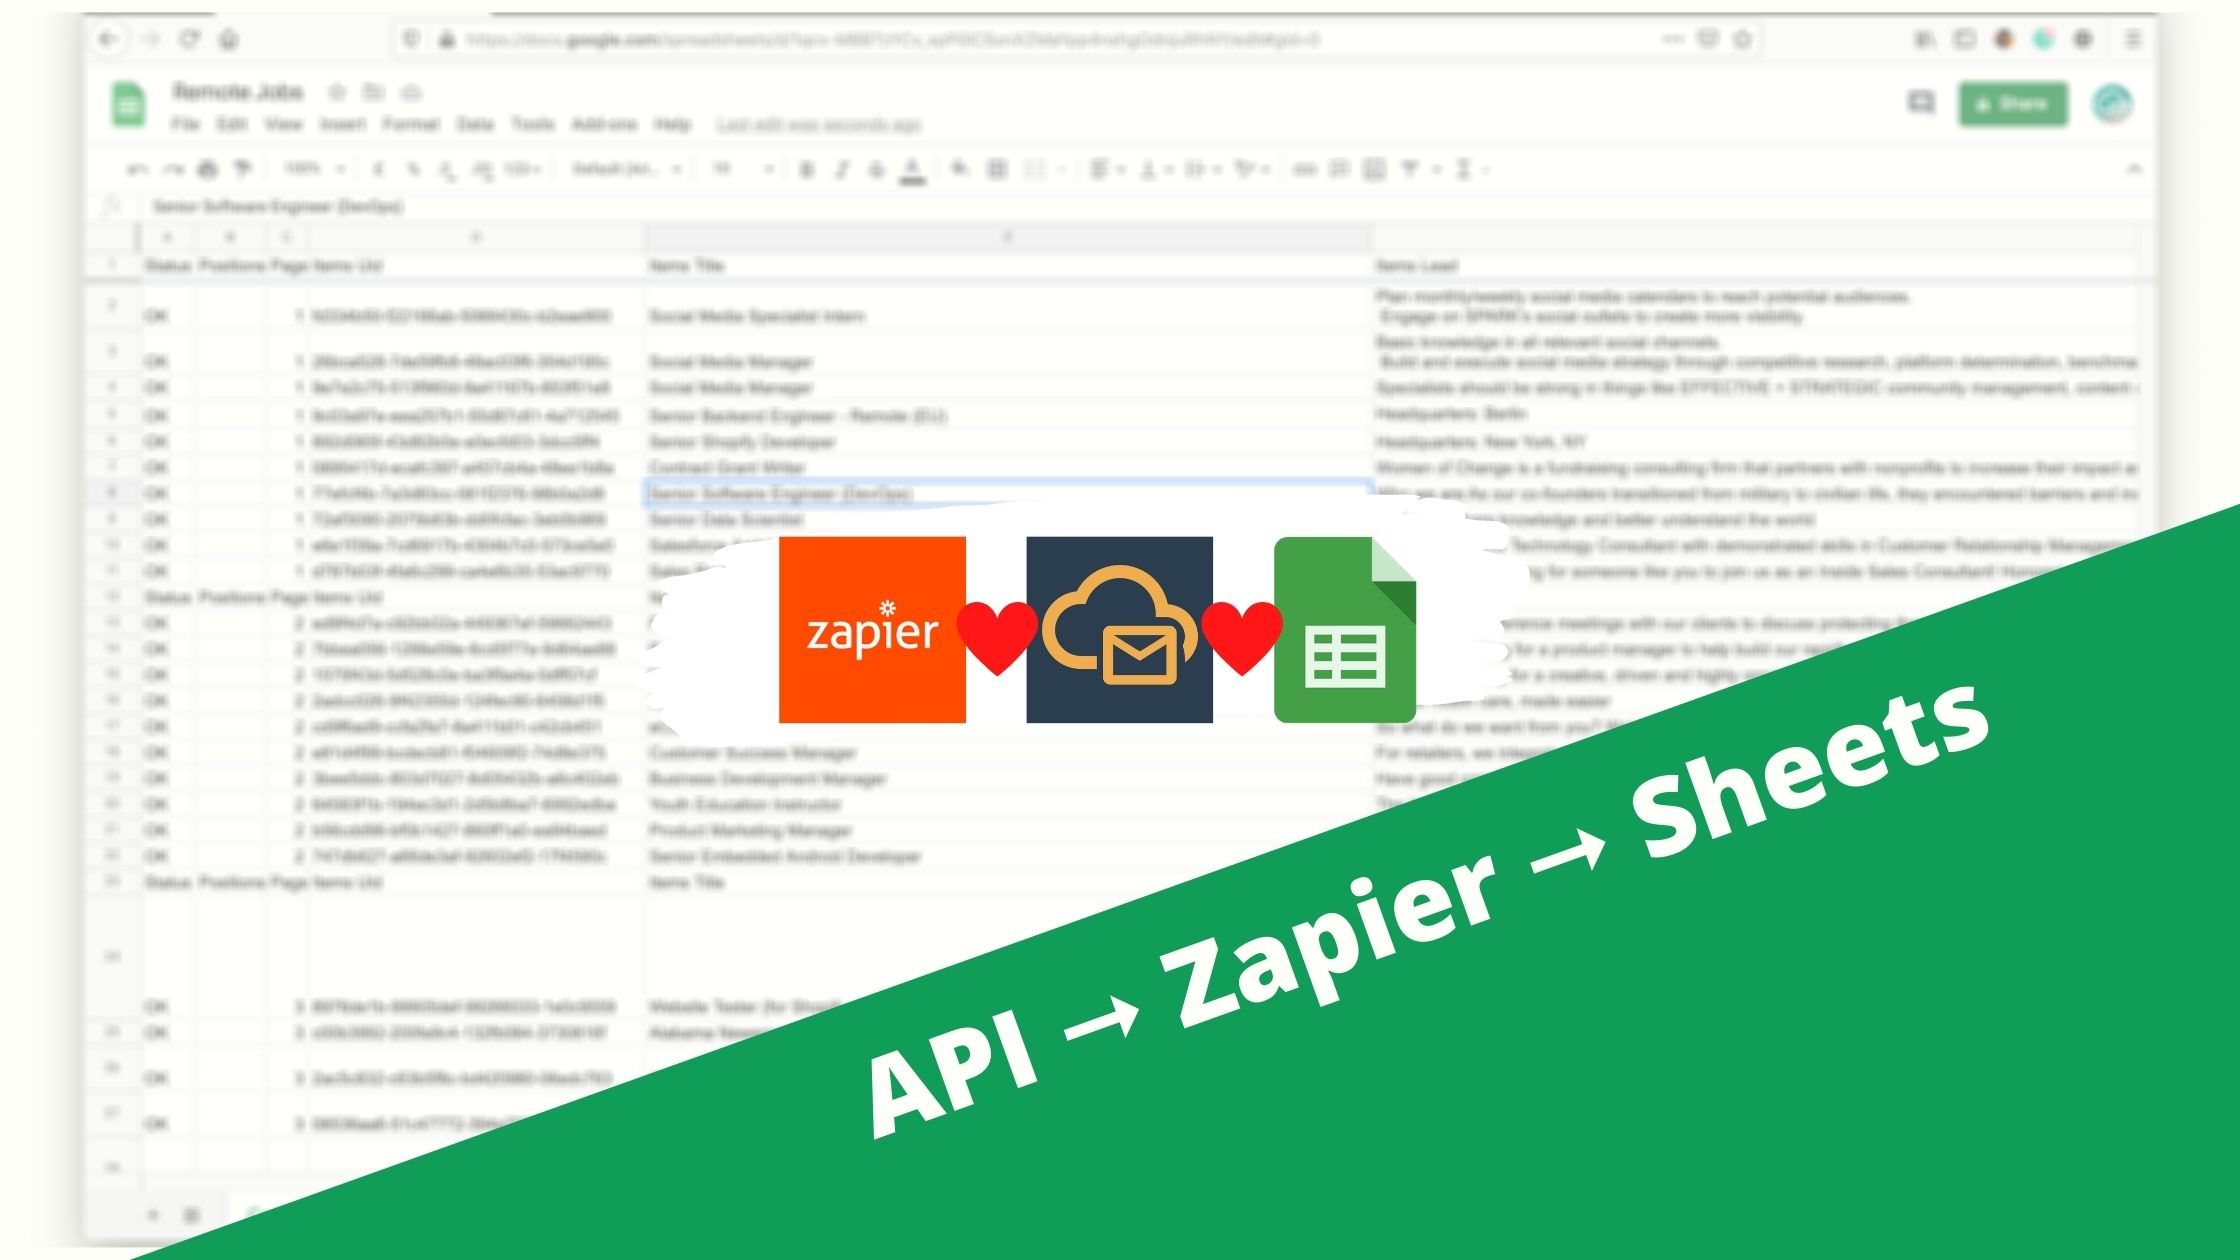
2. Prepare your spreadsheet
Log in to Google Sheets and create a new spreadsheet. You can also use this button:
Now, let’s give our document and spreadsheet a better name. We will be referencing the sheet in a Zap, so it should be something easy to remember. Don’t be scared, there will be pictures.
Let’s call the document 🔼 Remote Jobs and the sheet 🔽 Copywriters – because we will be scraping all recent copywriter jobs.


Now, let’s mix in some headers while we’re at it. To keep it simple, we will use ID, Title, Company, Salary, Location, Description, and Link.

3. Create New Zap
Alrighty. Now it’s time to create a Zapier account. That is if you already haven’t done so.
When done, log in. And click the Make a Zap button.

And now the proper fun begins. We need to create a 3-step workflow (Zap). Follow our instructions.
Step 1 – Trigger
Importing all the remote jobs once wouldn’t really be so helpful. That’s why we will set up a trigger action – let’s run the import every hour.
Choose Schedule by Zapier for the “app & event” field, then pick Every Hour. Test and save, nothing more to do here.


Step 2 – Run Javascript
Whoa, whoa, whoa. Hold your horses here, mister. I thought this tutorial was labeled #no-code! I want this to scrape remote jobs for me without any coding mambo-jumbo.
No worries! It’s just one piece of code that you can literally copy and paste without any changes. It’s safe.
Add a new step (+) and pick Code by Zapier. Pick Javascript as Action Event and continue.

Next, we will need 4 rows of input data. Meaning you have to click the (+) button on the right 3 times. When done, fill in these values 👇🏽
url       ➔ https://v1.remoteweekly.ai/api/jobs/
position  ➔ copywriter
token     ➔ Token you got in the first step
interval  ➔ 1
Note: For this tutorial, we are scraping copywriting jobs. However, you can go ahead and change the value to any other supported job.
Next on the list is the scary part – the code. Simply copy and paste the following into the Code input 👇🏽
/*
 * Fetch jobs from Remote Weekly API
 * @version 0.0.1
 */
const url = `${inputData.url}?positions=${inputData.position}&maxAge=${inputData.interval*3600}&page=1`;
fetch(url, {
  method: 'GET',
  headers: {
    'Authorization': `Bearer ${inputData.token}`,
    'Content-Type': 'application/json'
  }
}).then(function(res) {
  return res.json();
}).then(function(json) {
  callback(null, json.items);
});
Save the code and test it.
Note: The free tier of Zapier only allows you to run a script for one second, which may not be enough to fetch remote jobs from the API. If you are on the trial, you won’t have any issues.

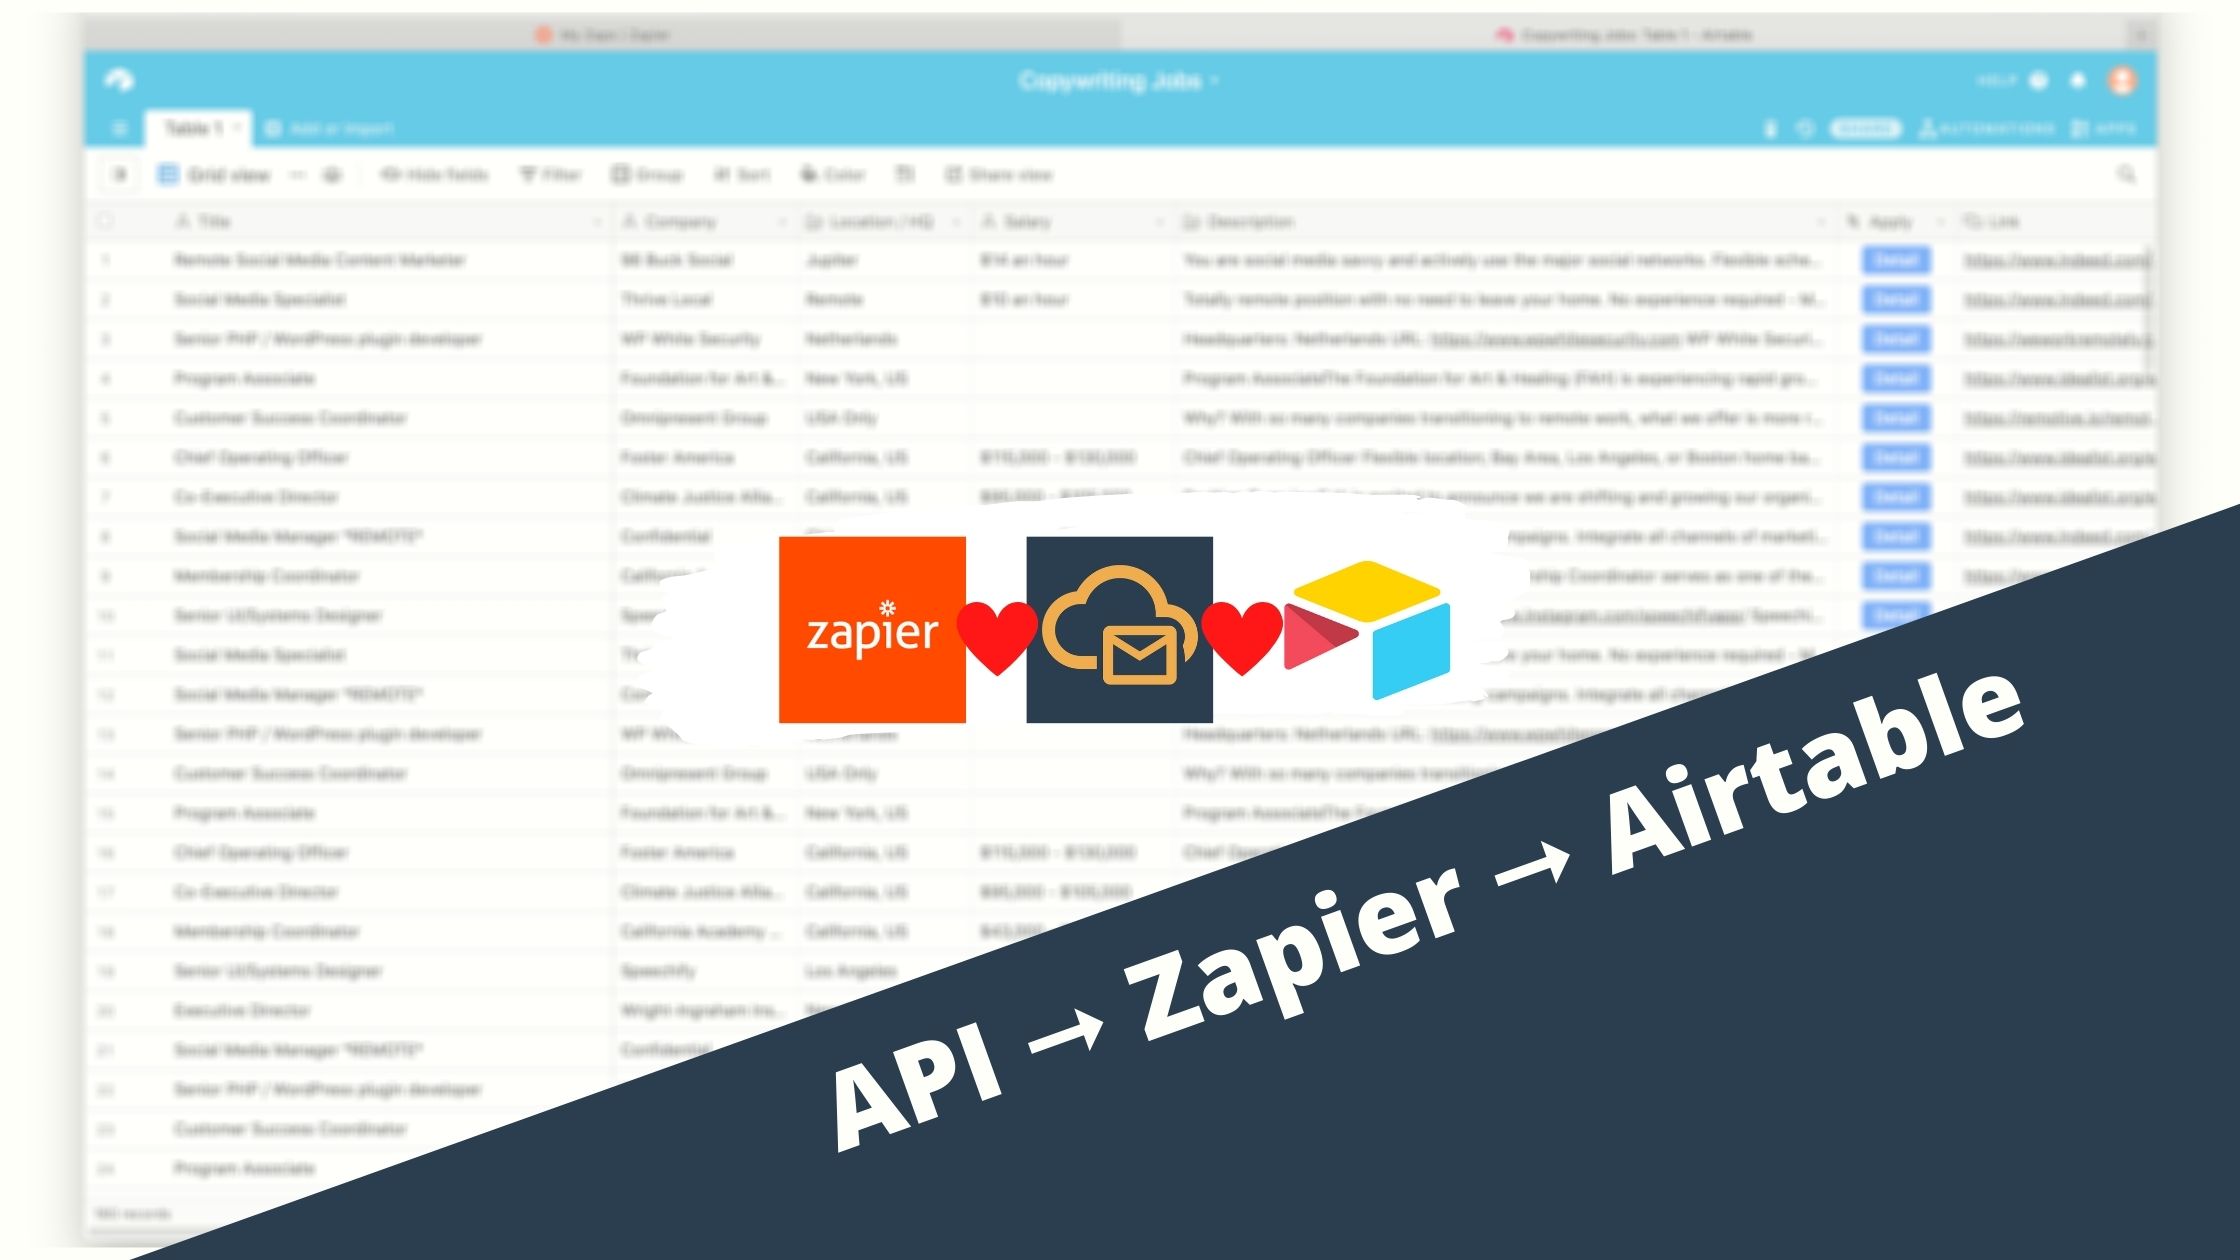
Step 3 – Connect Google Sheets
The finish line is in sight! Only a few more meters clicks. 🔥
Okay, so create one more (and last) action using the (+) button on the bottom. App & Event will be Google Sheets with the action Create Spreadsheet Row(s).

Click continue and connect your Google account to Zapier.

Continue again and select the Sheet we created in step 2 & the table we prepared.
We will also need to map our API results to the table columns here. Follow this table and screenshot 👇🏽
Title          ➔ 2. Title
Company        ➔ 2. Company Name
Salary         ➔ 2. Salary
Location / HQ  ➔ 2. Location
Description    ➔ 2. Lead
Link           ➔ 2. Links -> Original -> Detail

Ready to collect jobs!
And now, the moment of truth. Save the last action, hit test, and enable the Zap.
You may or may not already see some new record(s) in your Sheet. It may take a few hours for the first job to appear because we chose to scoop for new ones every hour – and every hour we are downloading only jobs posted in the last hour. I hope this isn’t very confusing!
Eventually, though, it will look majestic 👇🏽

🥳 🥳 🥳
Congratulations! You just saved yourself hours of work each month. This setup will now automatically collect remote jobs for you.
Important note
If you gonna fiddle with the interval on how often the workflow should collect new jobs, you have to change both 1. Trigger and 2. parameter interval. Otherwise, you will run into duplicity issues.
Tip
To fill your Sheet immediately on the first try, change the Trigger settings to Daily and interval parameter to 24.
Do you have a specific use-case for our Remote Jobs API? Let me know, so we can write an article about it!
Leave a Reply